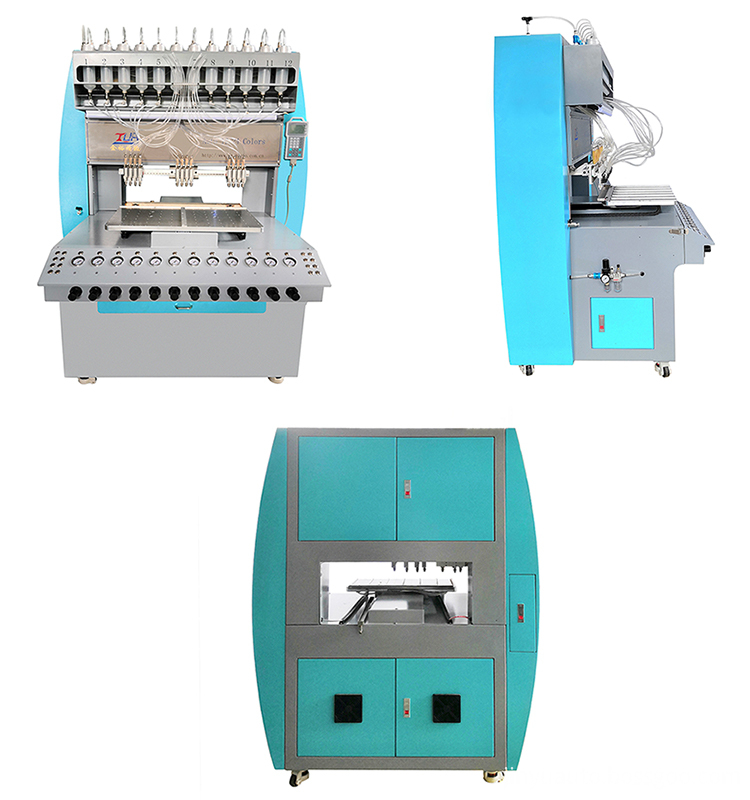
Jinyu automatic dispensing machine teaching
In the [File List] interface, press [F1] to create a new teaching file, enter the [Color List] interface, press [F1] New, press the Arabic numeral to select the main rubber head, and select the clamping cylinder (1) or (2). Then press [ENT] to save.
In the [Point List] interface, press [F1] to insert, and then select the type of teaching point (including 1, polyline; 2, isolated point group; 3, line; 4, arc; 5, full circle), move after selection Needle to the position to be selected, press [ENT] to confirm.
After completing one teaching point, press [F1] to insert the teaching point again, follow the previous steps until the whole picture is drawn, press [ESC] to return to the [Color List] interface, and then press [F2] to edit. Then press [ENT] to enter single step mode to check if there is any omission or error. After confirming that there is no problem, press 2 [ESC] to return to the [File List] interface.
In the [File List] interface, press [F4] to enter the [File Parameter List] interface, select (4) the reference point setting, then move the needle to the point above the point to be selected as the reference point (key position), press [ ENT] confirm.
selected as the reference point (key position), press [ ENT] OK.
In the [File List] interface, press [F4] to enter the [File Parameter List] interface, select (2) Array Processing Settings, press [SHF] on the [Array Parameters] screen to switch the array mode to [3D Array", and then set according to the template. "Number of columns" and "Number of rows", press [ENT] to save and then enter the [Array Parameters] interface, press [F1] the number of columns, and move the teaching needle to the sub-graph reference point of the last column of the first row ( For row 1 column 3), press [ENT] after the subgraph reference point is pressed; press [F2] the number of rows to move the teaching needle to the subgraph reference point of the last row of column 1 (such as column 1 row) 4) After aligning the subgraph reference points, press [ENT] to confirm. Then press [#] to expand, then press [ENT] to check if it is correct. Note: (The new version only needs array number or number of rows).
Return to [File List] Press [ENT] to enter the machining interface, press [F1] to start machining. Press 2 to make the shortcut settings.
Modify a point in the graph
Press [F2] to edit in the [File List] interface, press [F2] to edit in the [Color List] interface, press [ENT] to move the needle to the point to be modified, move the point to be modified to the correct position and press (ENT) Save, press [CLR] to delete the extra or wrong graphic, then move the cursor up one space, press [ENT] to confirm whether the needle moves back to the first one of the deleted picture, and then press [F1] to insert. Re-draw, return to the starting point after drawing, press [ENT] single-step test to meet the requirements, repeat the operation, test until the request is reached.
Modify local running speed or glue opening time
In the [File List] interface, press [F2] to edit.
Press [F2] to edit in the [Color List] interface, then move the [up and down arrows" or [ENT] to single-step the points to be modified.
Press the [F4] parameter to set the graphic speed and the glue delay setting (* indicates the default parameter). After the setting is completed, press [ENT] to save.
Continuous needle (multi-color) operation
First create 2 files to be executed, then move the cursor up and down in the [File List] interface to select the file to be executed first, press [F4] parameter, select in the [File Parameters] interface (1) Finish the action, enter the interface and select (5) File connection, then press [F2] to connect, select the file to be connected, press [ENT] to confirm, then press [ENT] to save, return to [File List] interface and press [ENT] to run.
When selecting the needle, according to the specific conditions of the mold, the needle can be inserted into the groove of the mold to move freely. The height between the needle and the mold should be suitable. It should not be too high, and it should not touch the mold. If the needle is too high, it may not be caused. Material, when the material is not enough, you can slow down and adjust the height and speed of the needle flexibly.
Special attention: the syringe with silicone is used up on the same day, it must be washed or put into the refrigerator to freeze, otherwise the silica gel will solidify and block the valve of the dispensing valve!

No comments:
Post a Comment